Essential Settings for the Olympus PEN E-PL7 and E-PL8 Camera
If you’ve recently acquired an Olympus PEN E-PL7 or E-PL8 camera and want to unlock its full potential beyond the automatic and default settings, here are some essential adjustments to enhance your photography experience. Note: These instructions do not apply to the E-PL9 model due to its updated menu structure.
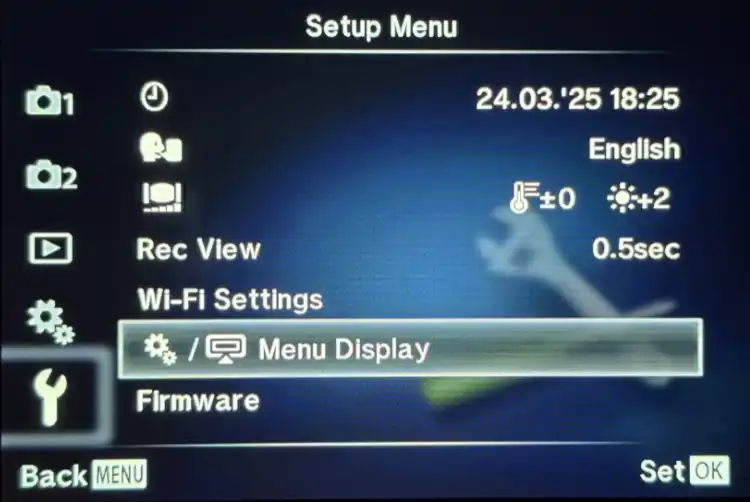
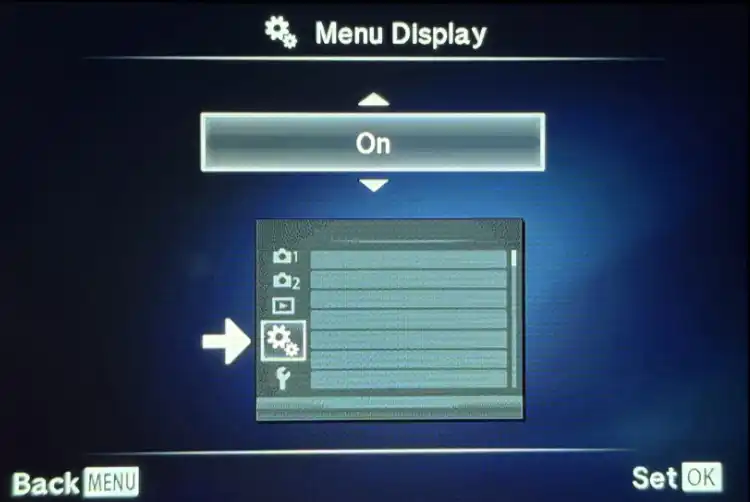
1. Activate the Custom Menu Display
By default, the custom menu display is turned off. Activating this feature allows access to almost all the camera’s advanced settings.
- Go to the Setup Menu.
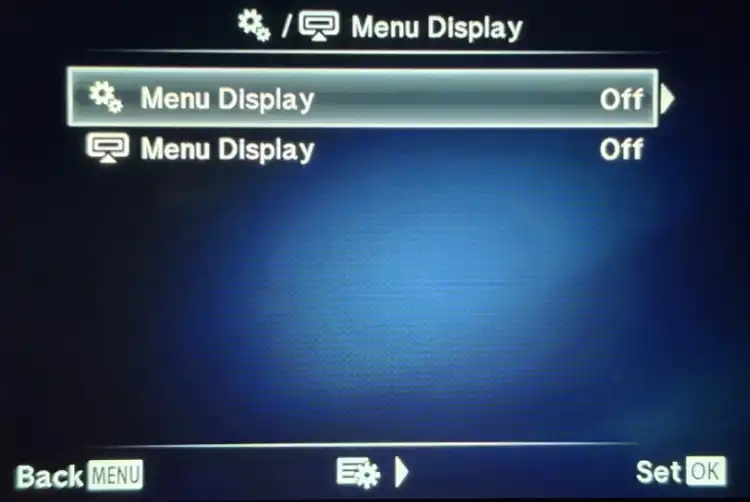
- Navigate to Menu Display Settings.
- Turn on Custom Menu Display.
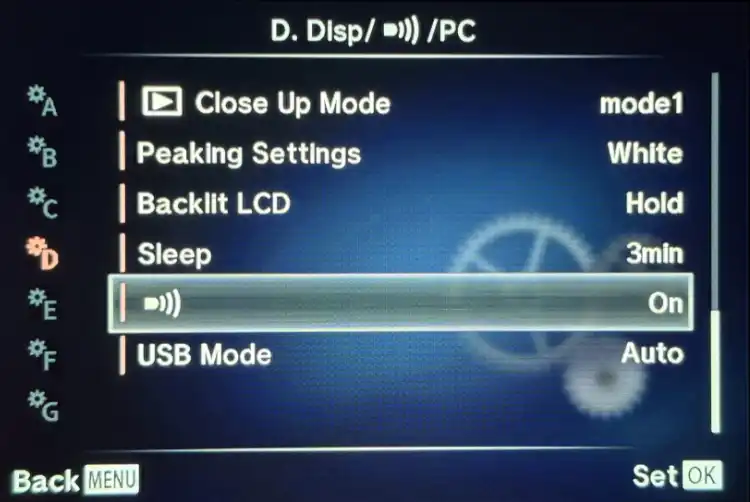
2. Disable the Autofocus Confirmation Sound
The autofocus confirmation sound indicates when the camera has successfully focused. In many situations, such as events or quiet environments, it’s better to minimize unnecessary noise.
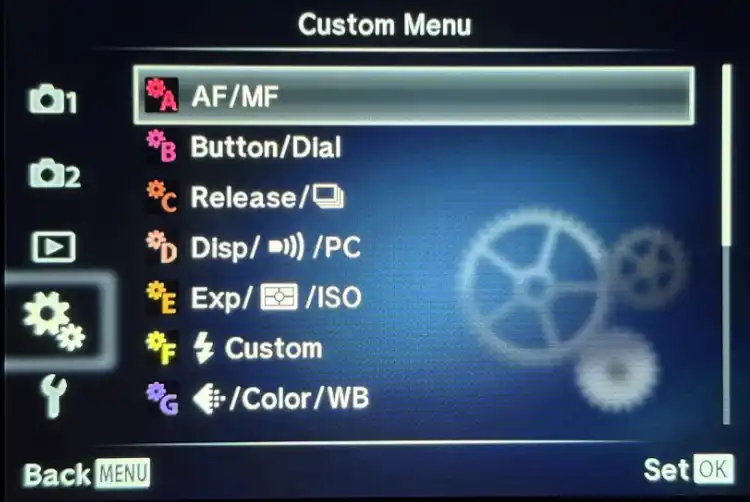
- Open the Custom Menu Display.
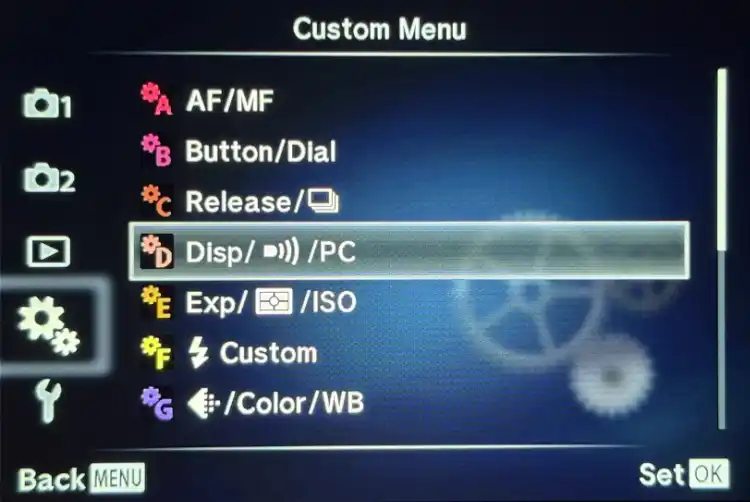
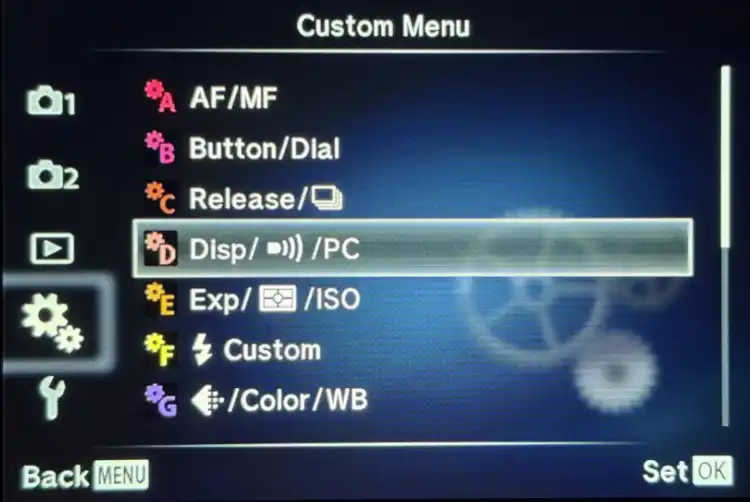
- Select menu D (Display/Sound/PC).
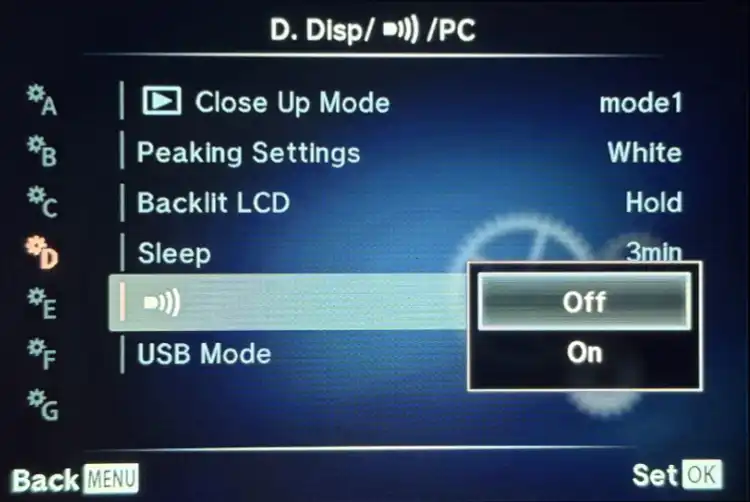
- Locate “Beep” settings.
- Set Beep to OFF.

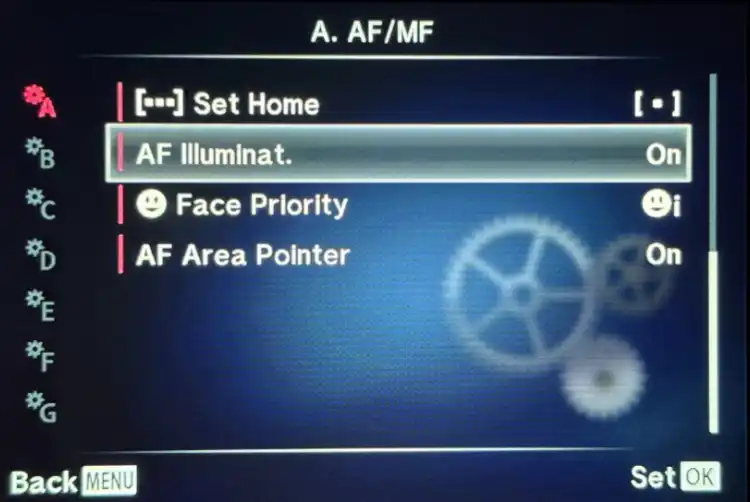
3. Turn Off the Autofocus Assist Lamp
The autofocus assist lamp aids focusing in low-light conditions but can draw unwanted attention.
- Open the Custom Menu Display.
- Choose menu A (AF/MF settings).
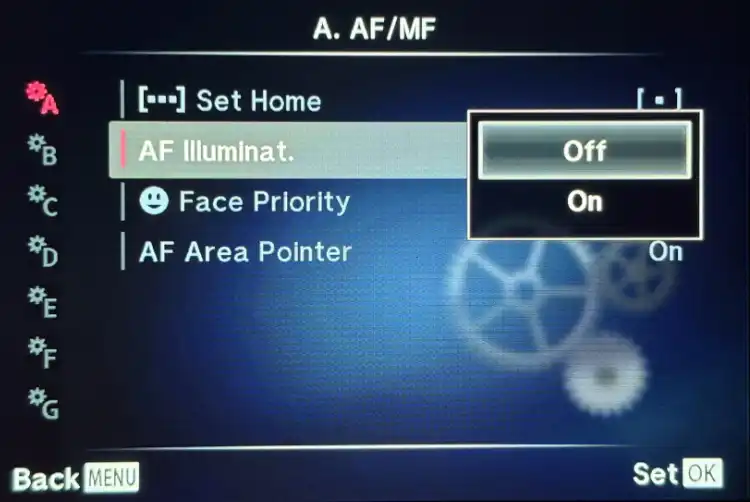
- Find “AF Illuminator.”
- Set AF Illuminator to OFF.
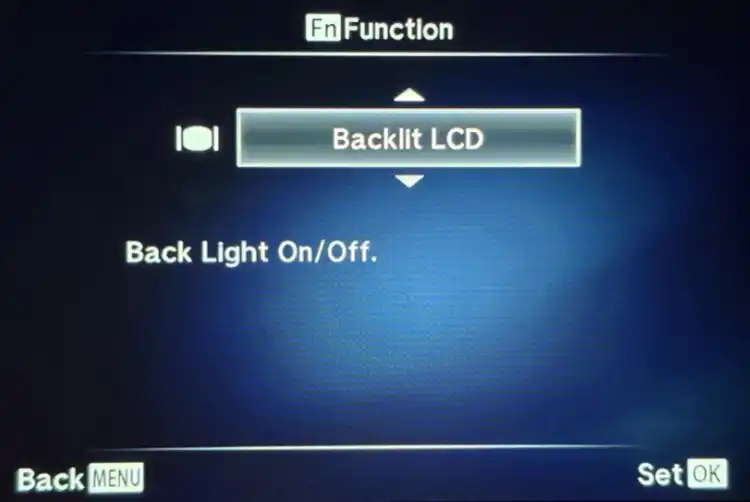
4. Assign LCD Screen On/Off Function to the Fn Button
Turning off the LCD screen saves battery life and reduces disturbance in dark settings. This function lets you quickly toggle the screen on and off with the Fn button, challenging your creativity by forcing you to rely on intuition for framing.
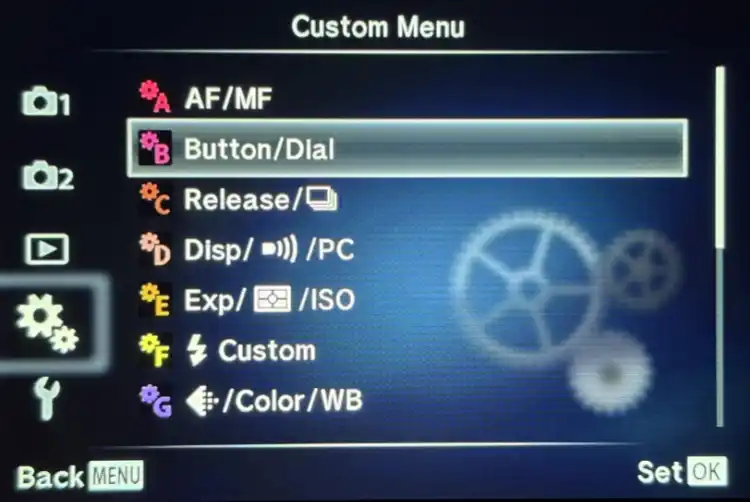
- Access Custom Menu Display.
- Choose menu B (Button/Dial).
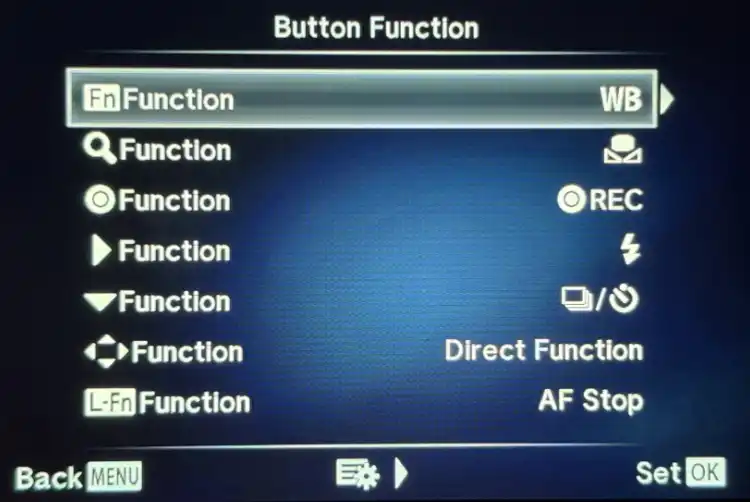
- Select Button Function.
- Set Fn Button to LCD Backlight.
Note: The display will automatically turn back on when the camera restarts or returns from sleep mode.

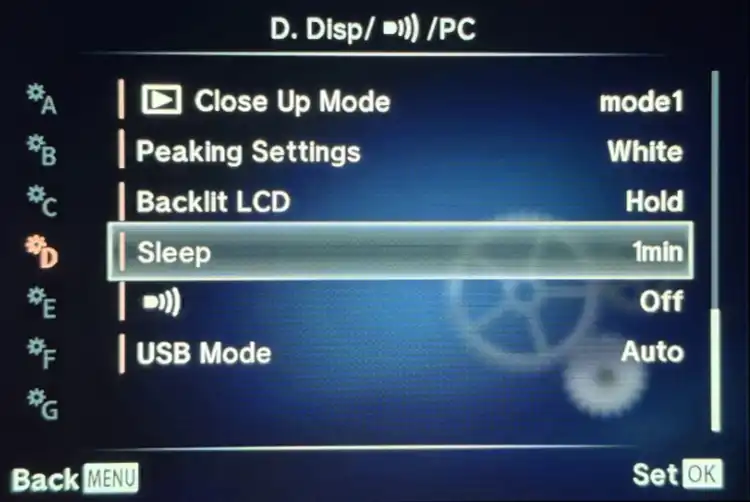
5. Extend the Camera’s Sleep Mode to Three Minutes
The default one-minute sleep timer can be too short, especially when shooting with the LCD off.
- Open Custom Menu Display.
- Choose menu D (Display/Sound/PC).
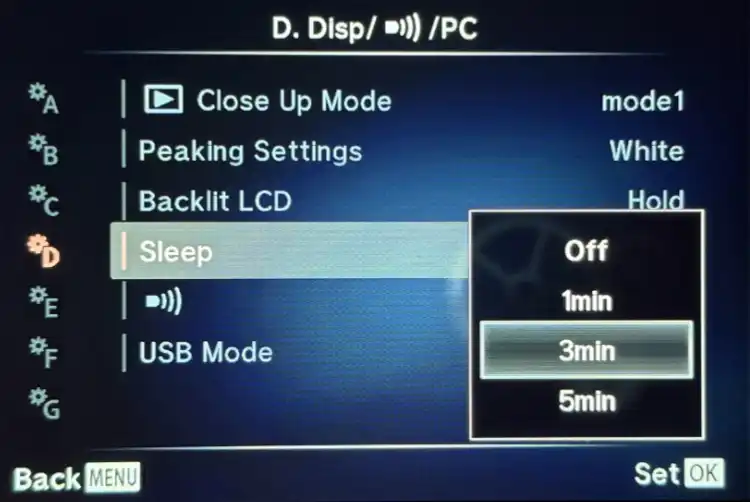
- Scroll to Sleep settings.
- Change the timer from 1 minute to 3 minutes.
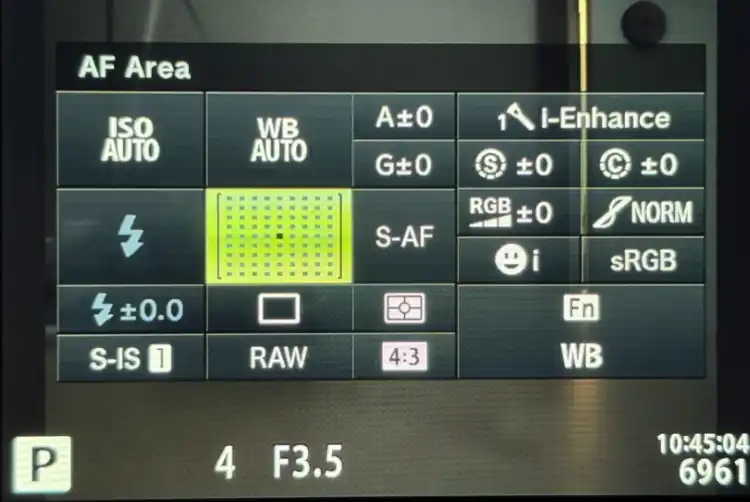
6. Enable the Super Control Panel (SCP)
The Super Control Panel provides easy access to various camera functions through a single, user-friendly interface.
- Open Custom Menu Display.
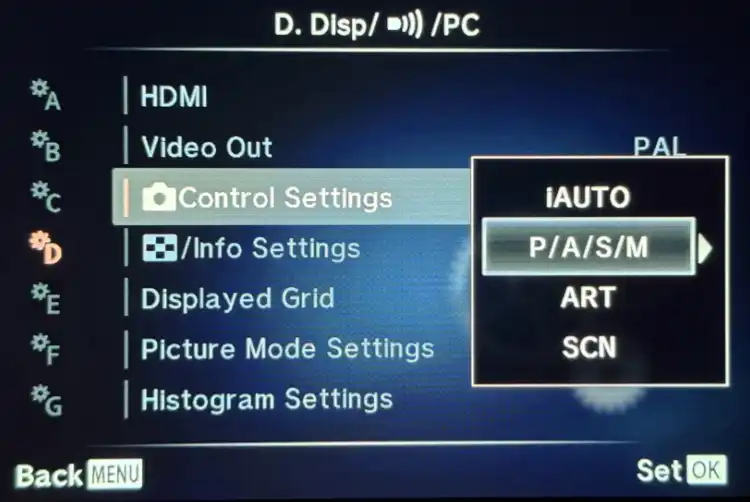
- Select menu D (Display/Sound/PC).
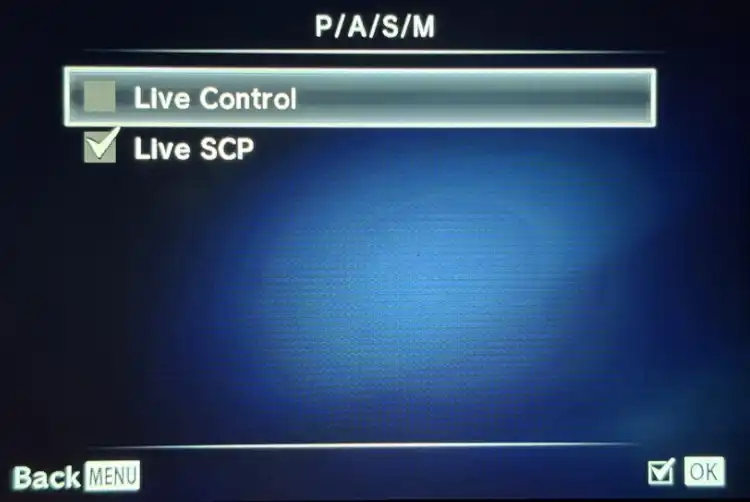
- Scroll to Control Settings.
- Enable Live SCP and disable Live Control for each desired shooting mode (P/A/S/M, iAuto, ART, and SCN).
The Super Control Panel is activated by pressing the OK button during shooting mode, streamlining your photographic workflow.